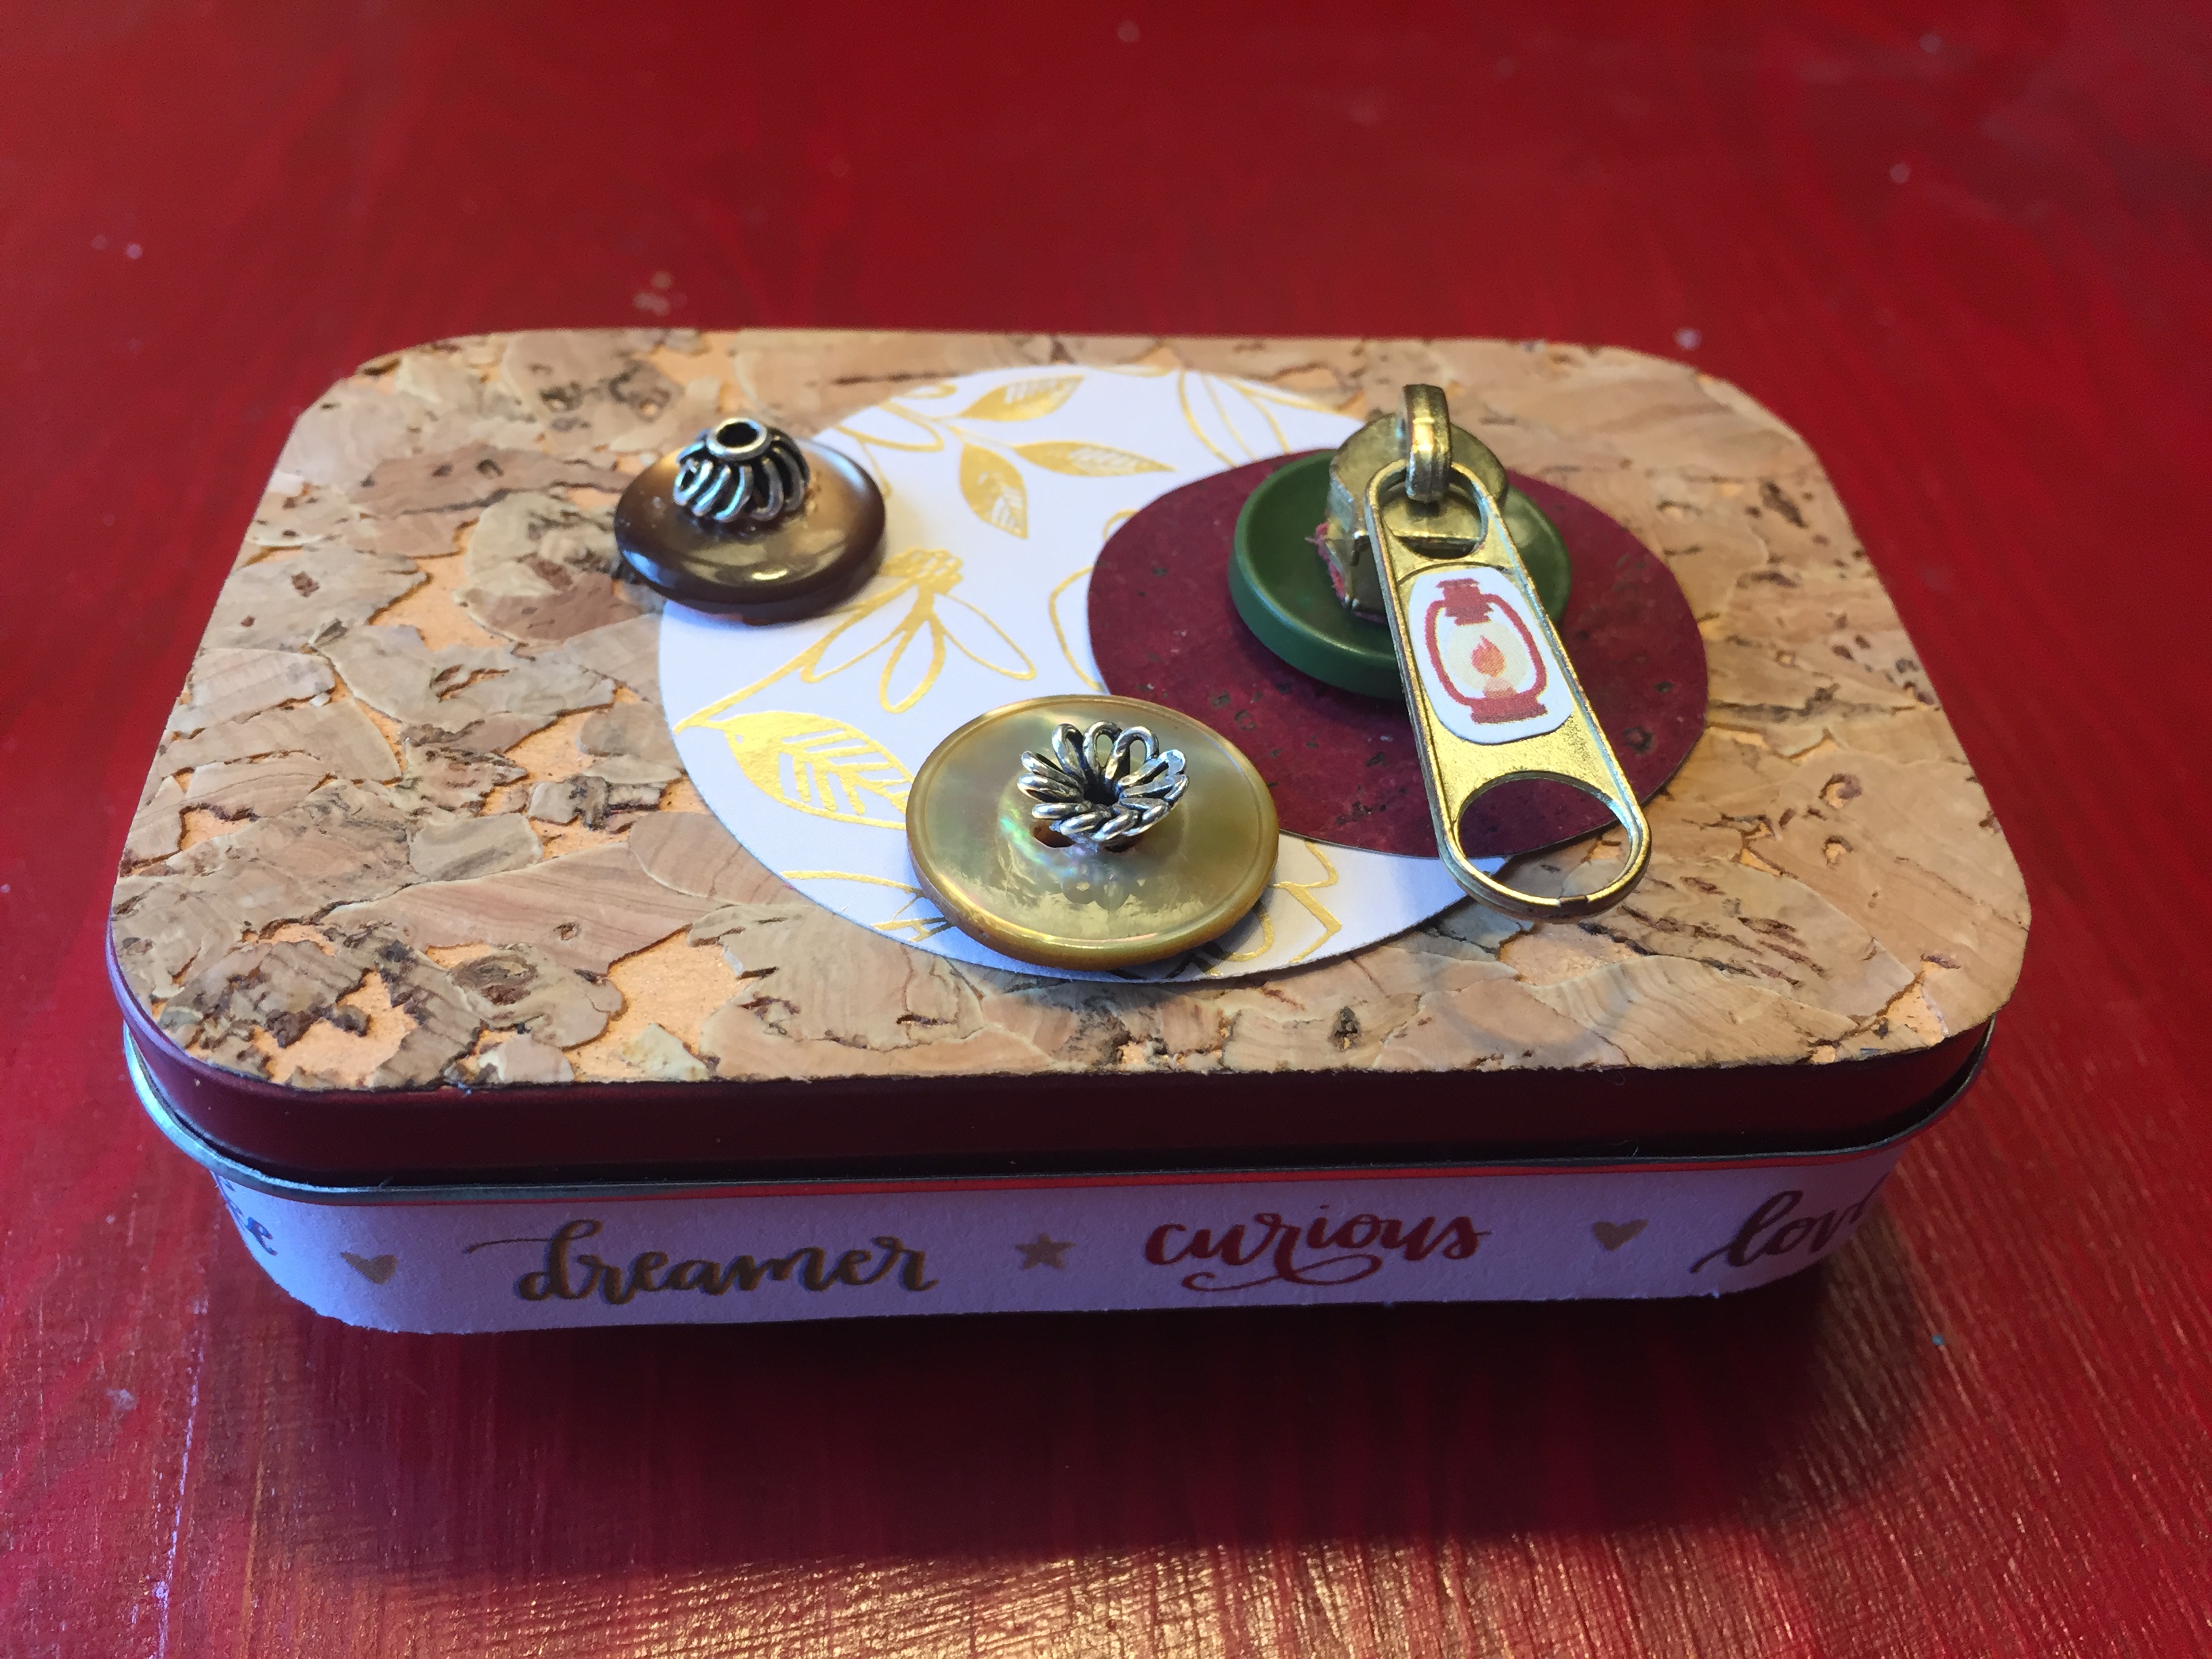
My birthday was last week and as a gift, my mom invited me over to her house to turn an Altoids tin into a small keepsake box. I’ll tell you right now, this project was the most fun I’ve had all month. OK, it might be possible that I’ve been depriving myself of creative projects, which is really not good for me. In fact, in the realm of self-care, creative pursuits are pretty much at the top of my list. So here’s a window into my creative process and some pix of the sweet little box I created! I think it’s Pinterest worthy if I do say so myself.
Here’s what you need:
1 Altoids tin
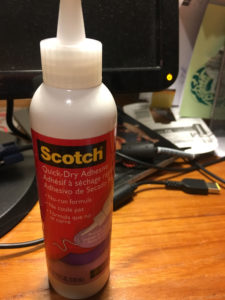
Scotch quick dry adhesive
Elmer’s glue
Leather
Paper
Buttons
Stickers, beads, screws, bolts, ribbon, or other embellishments
Here’s a picture of some leather and the #1 key to your success…the glue! This glue is absolutely magical. It adheres practically anything to anything else. I used it to glue leather to metal and metal to buttons and metal beads onto buttons and buttons onto paper. It takes a few moments to adhere, but once it’s dry, it’s permanently stuck. Do note that this glue leaves a shiny residue, so if you want a completely invisible glue, use Elmers. It’s not as strong, but it dries completely invisible.
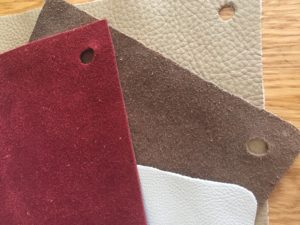
Sorry I didn’t take photos of the actual process but let me explain what I did. First I decided what I wanted for the top, bottom, inside top and inside bottom surfaces. I used cork wall paper samples for my top and bottom and for the inside of the lid. I used leather for the inside bottom part of my box. Do note that you don’t want to use anything very thick on the inside of your lid or it could keep it from completely closing.
I used the tin to trace the size onto the paper or leather and then used a pair of very sharp scissors to cut them out. For the inside I had to trim a bit more off to get it to fit well. I used a string of beads to embellish the inside bottom of the box and this is where I used the Elmer’s glue. I used the Scotch glue for pretty much everything else.
I sorted through my mom’s button, bead, and paper collections until I found what I was looking for. Then I designed the embellishments for the top, bottom, and inside.
I used paper on the inside and outside edges, but I’ve seen other boxes with ribbon, fabric, or even paint.
Here’s how my box turned out:
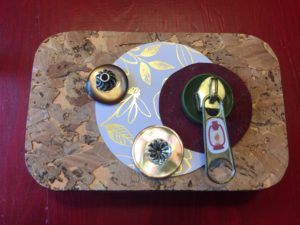
When I found the zipper pull, I knew I was on the right track. I also glued wooden feet onto the bottom. And when I opened it up, it kept falling over, so I added some nuts to the bottom front to help it keep it’s balance. Here’s a picture of the bottom:
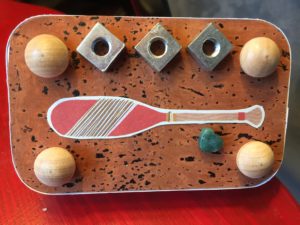
And here’s the inside:
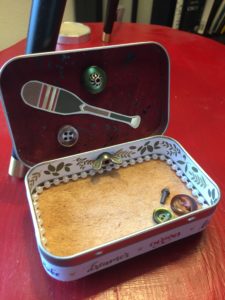
I had so much fun with this project! May you take the time to do the things you love. Nourish yourself with creativity and fun!
